Keywords - eero setup, eero routers, setup guide, router location
Here you'll find everything you need to help you set up your new eero routers.
How do I set up my new eero routers?
In order to set up your new network, you'll need to download the eero app - you'll also need an internet connection or mobile data to complete the in-app setup.
You'll need a compatible device to download the eero app. For iOS, your device must be running iOS 15 or later. For Android, your device must be running Android 9.0 or later.
Your device must also support BLE, so Bluetooth hardware versions earlier than 4.0 aren't supported.
Note: This guide is for setting up new networks.
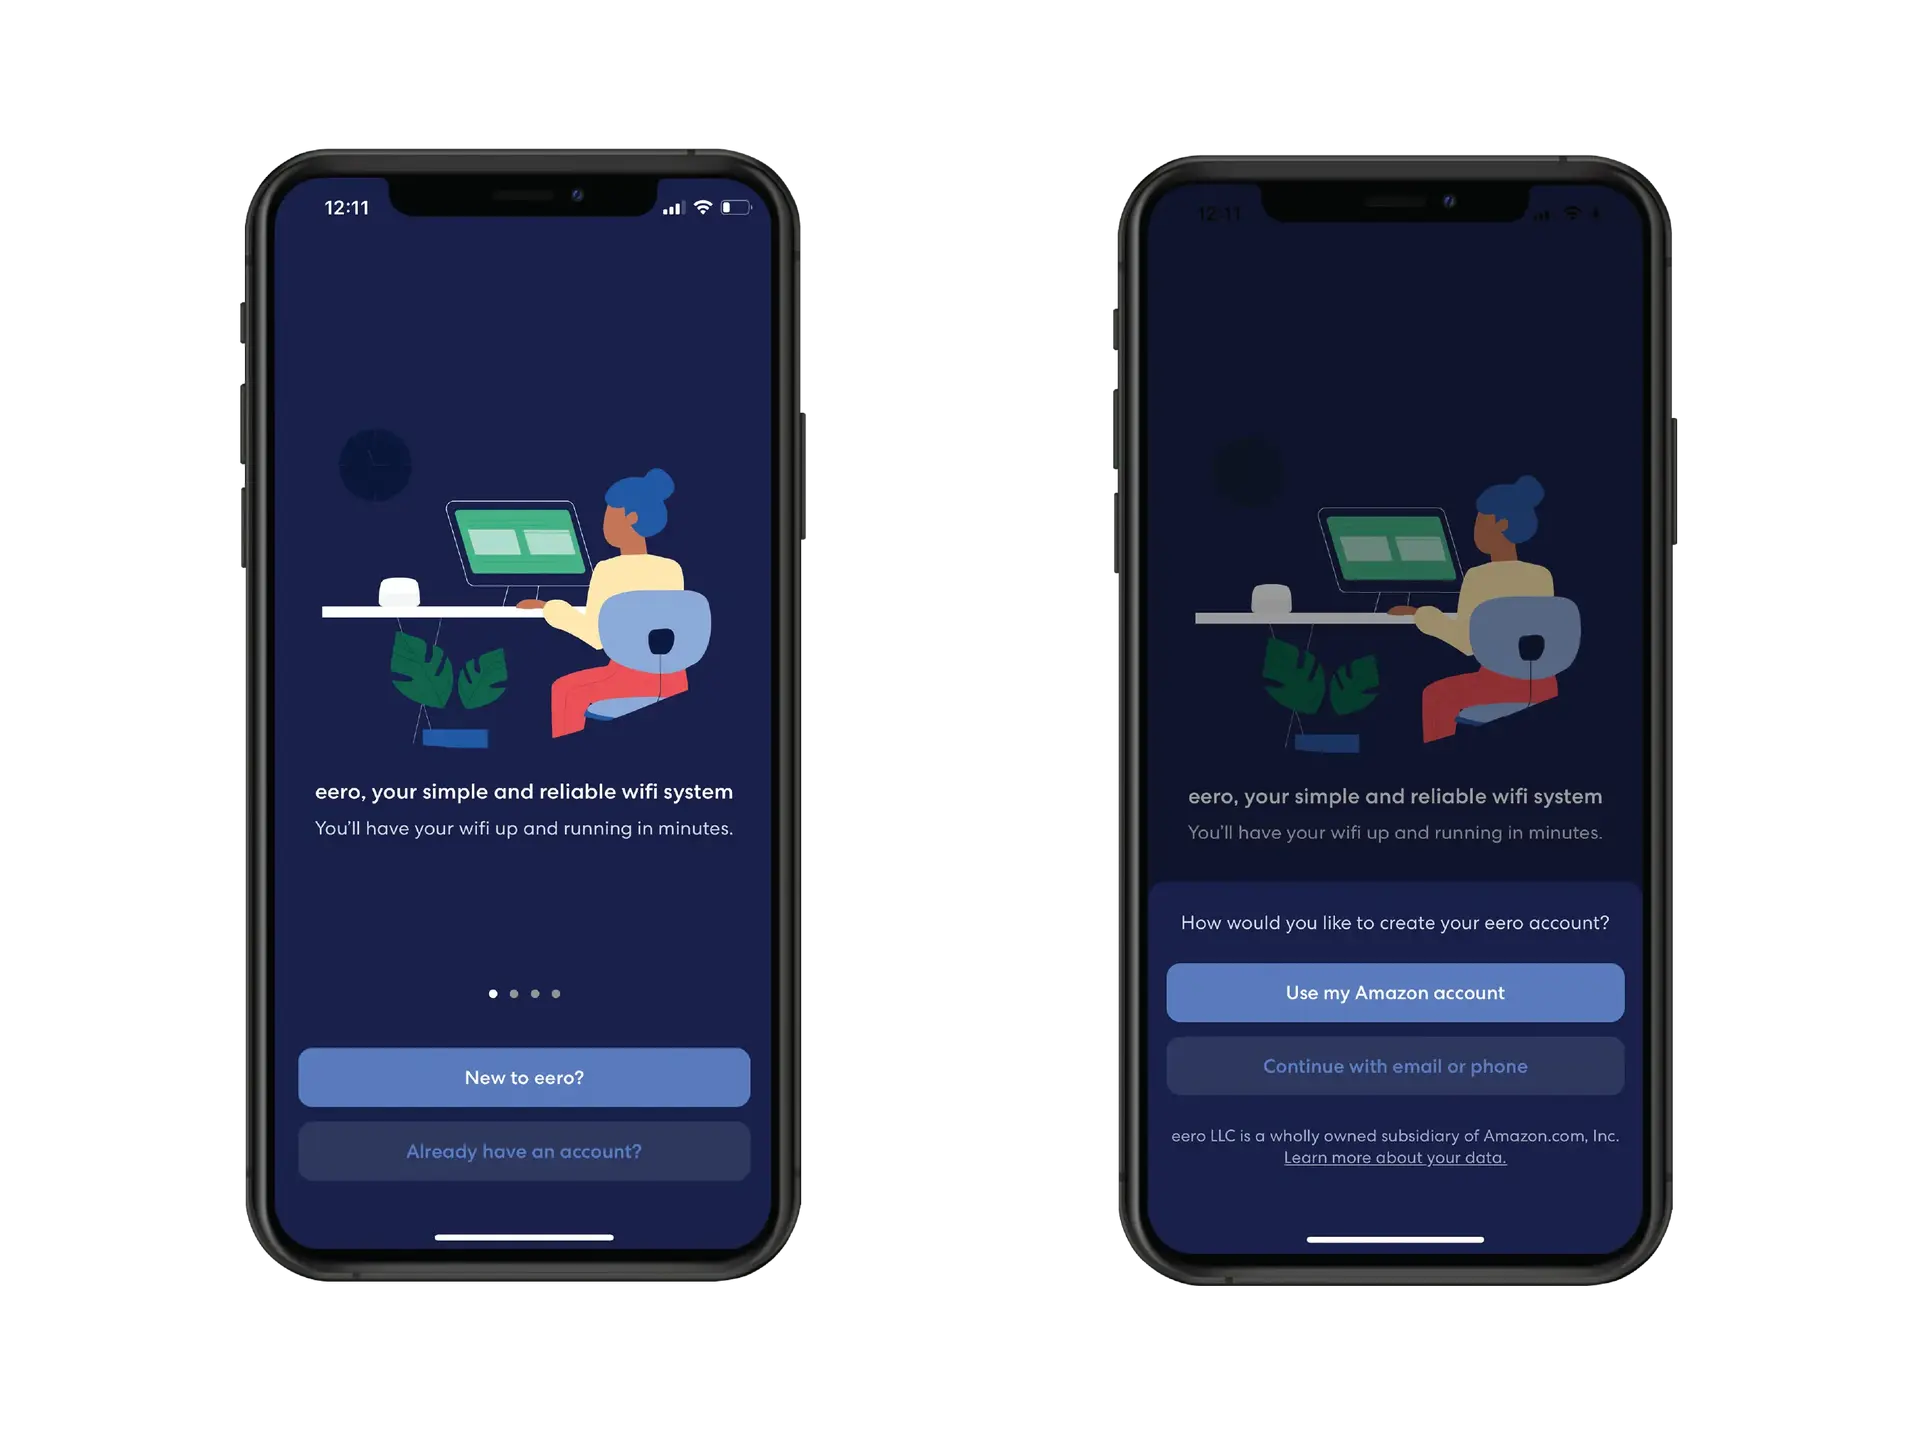
Step 1: Open the Eero mobile app.
If you've already created and verified an Eero account via the app, choose 'Already have an account', otherwise, select the 'New to Eero?' button.
You'll have the option to either log in with your existing Amazon account or create a new account with your email or phone.
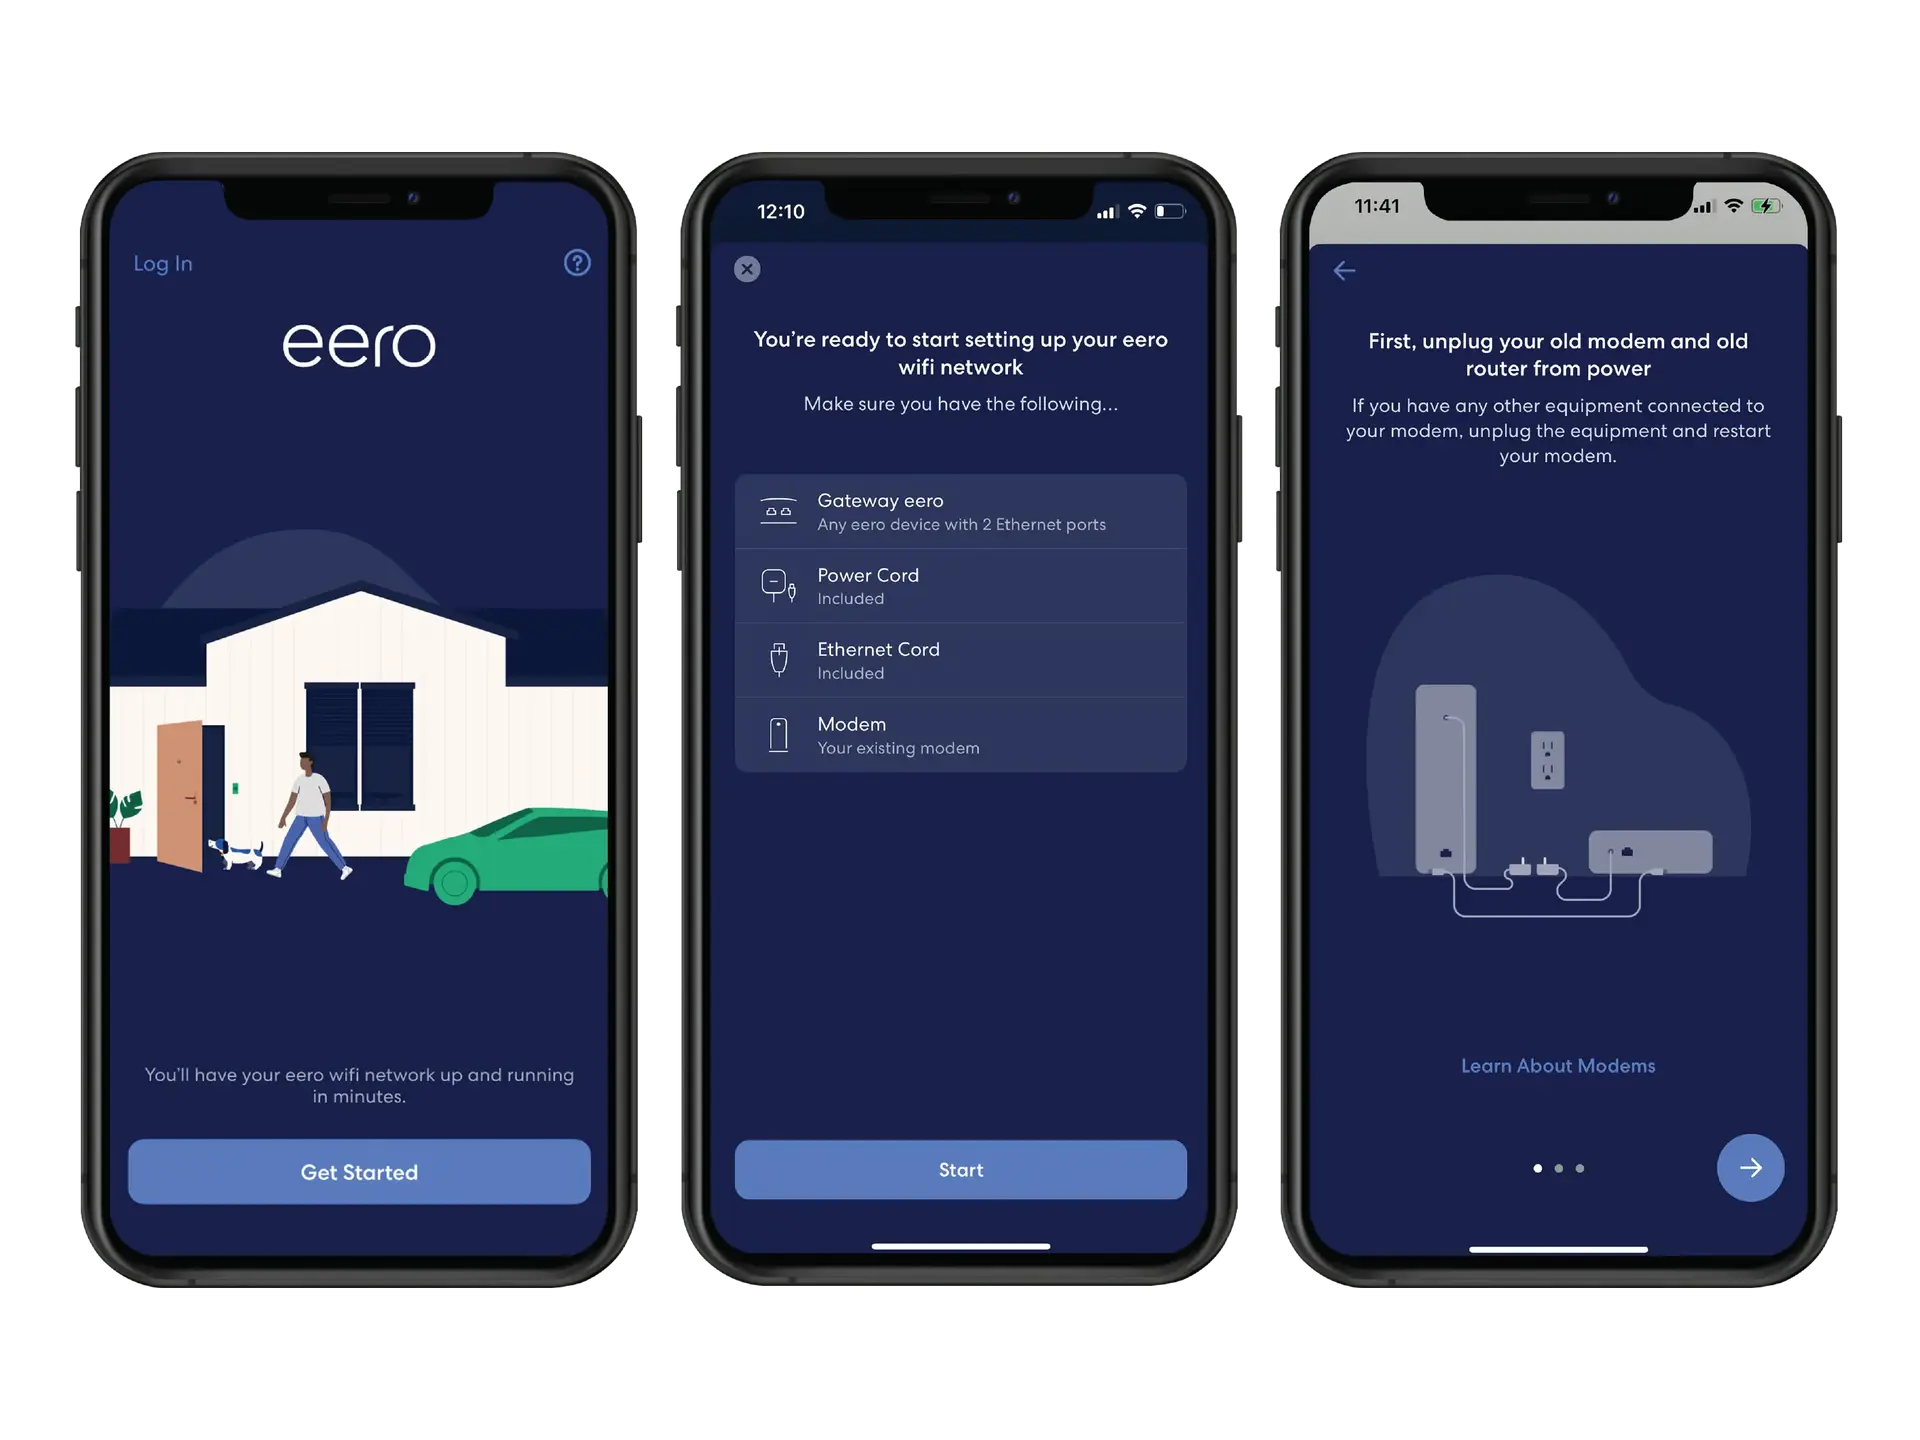
Step 2: Once you are logged in, tap 'Get Started' to begin the eero setup process.
Check you have all the items listed and then click 'Start'.
If you have one, you'll need to disconnect your old router and then tap the blue arrow.
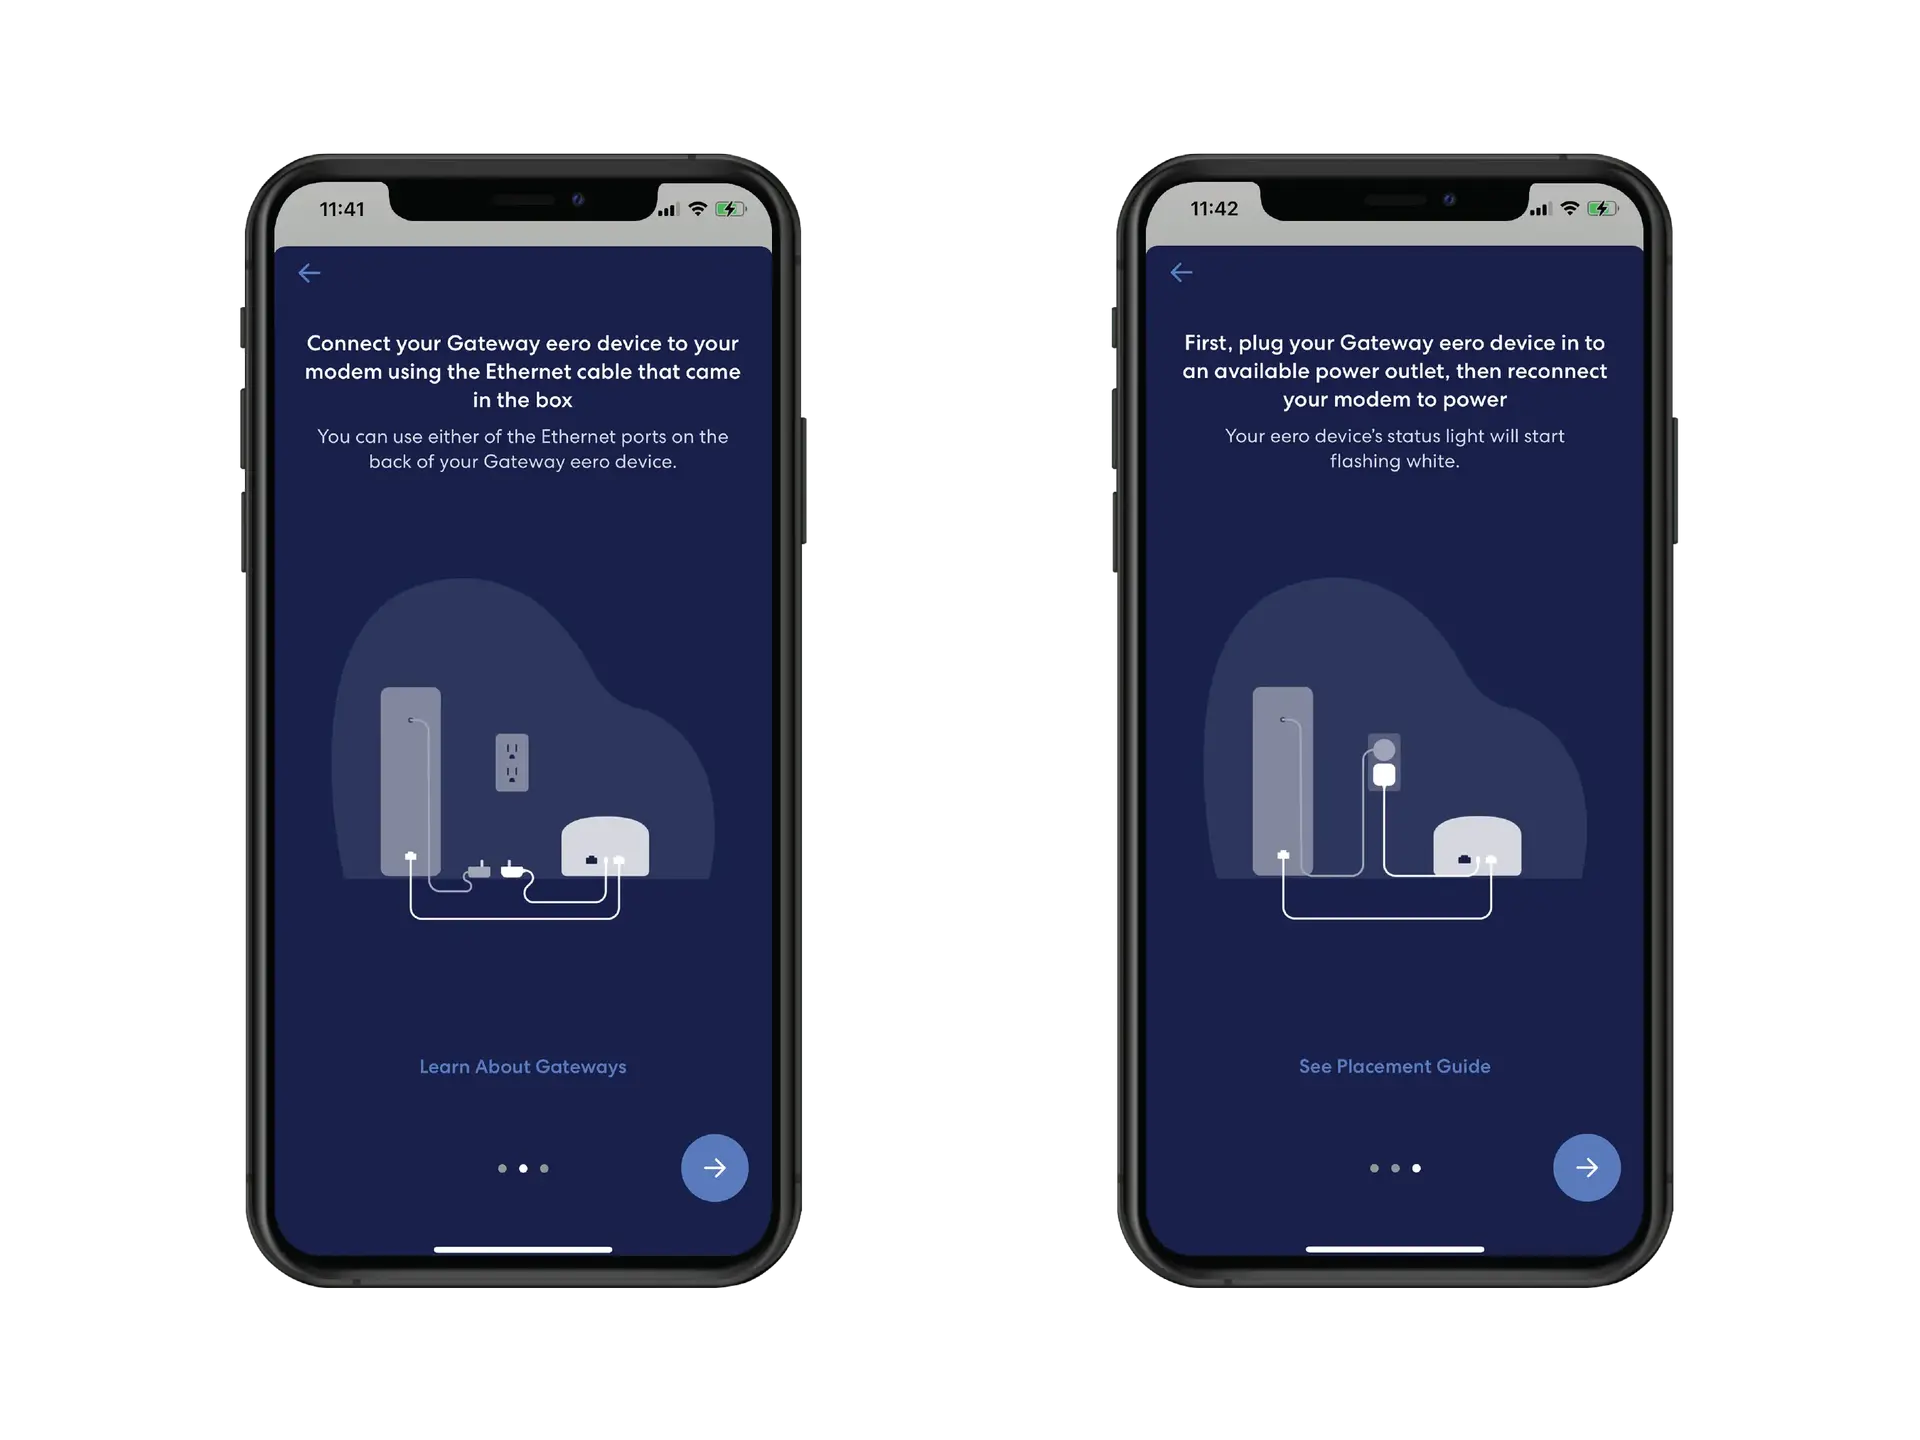
Step 3: Connect your eero to the LAN1 port on your ONT using the provided Ethernet cable and tap the blue arrow.
Note: The eero app will advise you to connect the Eero to your router, however, this is not the case - instead, attach the eero to your white fibre box (ONT).
Plug the eero into a power socket, using the provided power cable, and turn it on.
Ensure the eero is flashing blue before proceeding, as this helps to locate the gateway eero and avoids setup issues.
We also recommend you close all other apps on your phone.
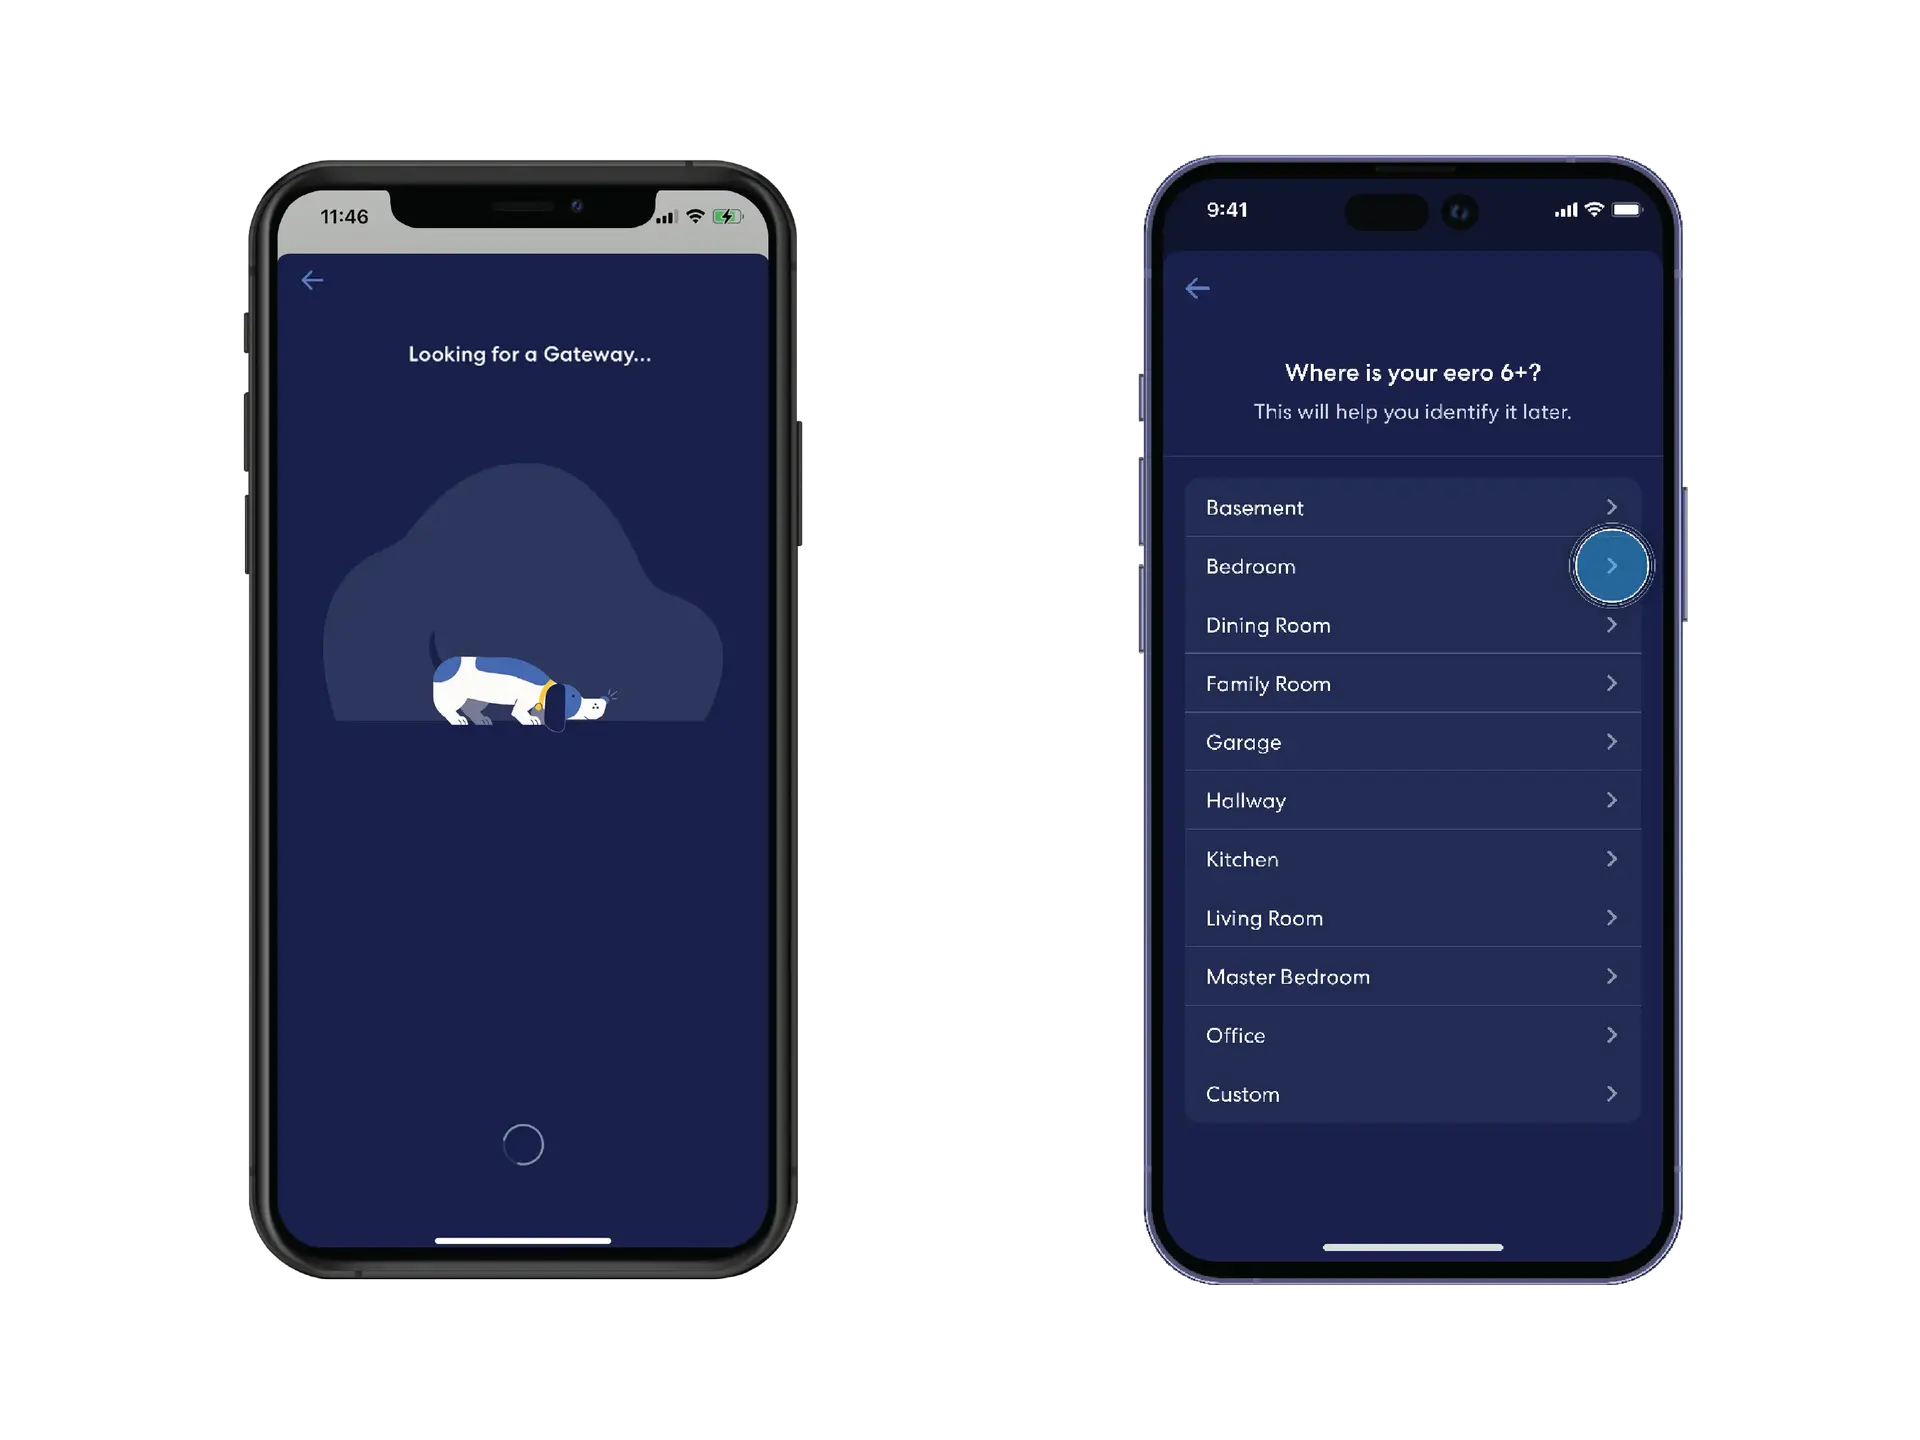
Step 4: The app will now search for the gateway eero.
Once found, the light on your eero will go solid blue.
While searching for the gateway eero, the app may ask for permission to access Bluetooth or Location, please allow this for setup via the app to be successful.
If the app is unable to find the gateway eero, double-check the eero is connected correctly before touching the 'Try Again' button.
Once the eero is recognised, set the location of the eero from the provided list - you can select the 'Custom' option if your location isn't listed.
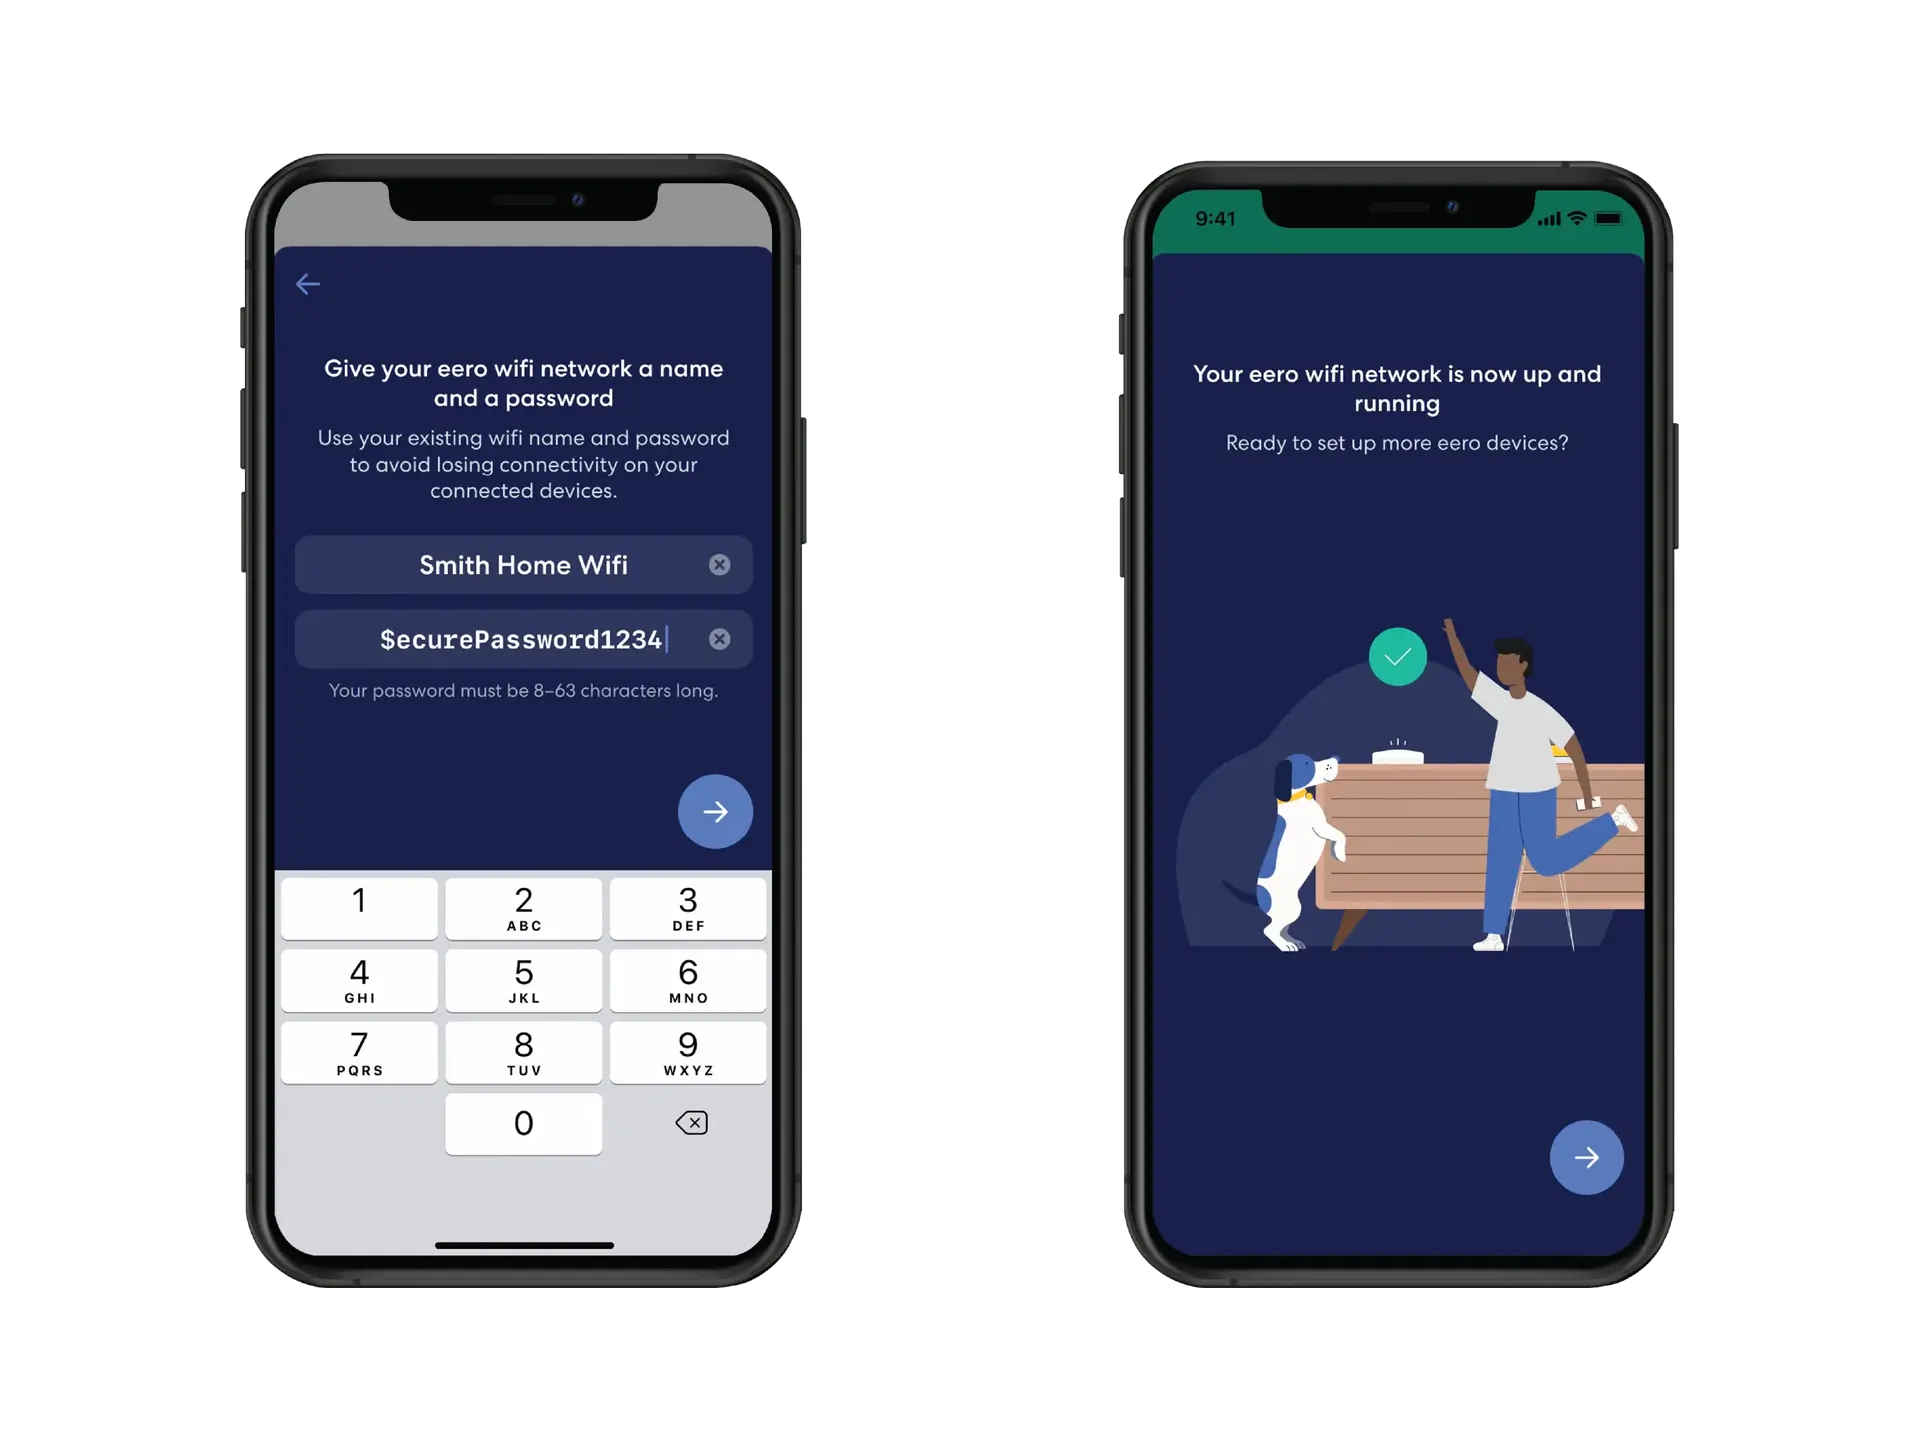
Step 5: Name your network
Then create a name and password for your WiFi network - once you have entered this, tap the blue arrow.
If the setup has been done correctly, you will receive confirmation that your eero is now up and running.
This is when you can set up another eero device.
If this fails, ensure your connection is live, and plugged in correctly then select 'try again'.
Where do I place my eero routers?
Where you place your eero routers is important; keep in mind the following points when setting up your router.
Airflow
This eero router is air-cooled and can get warm while operating:
Do not restrict airflow around the router to avoid overheating.
Allow a 5cm clearance around the sides and top of the router.
Do not cover, put in an enclosed space, or put under or behind large items of furniture.
Location
The router is designed for inside use only.
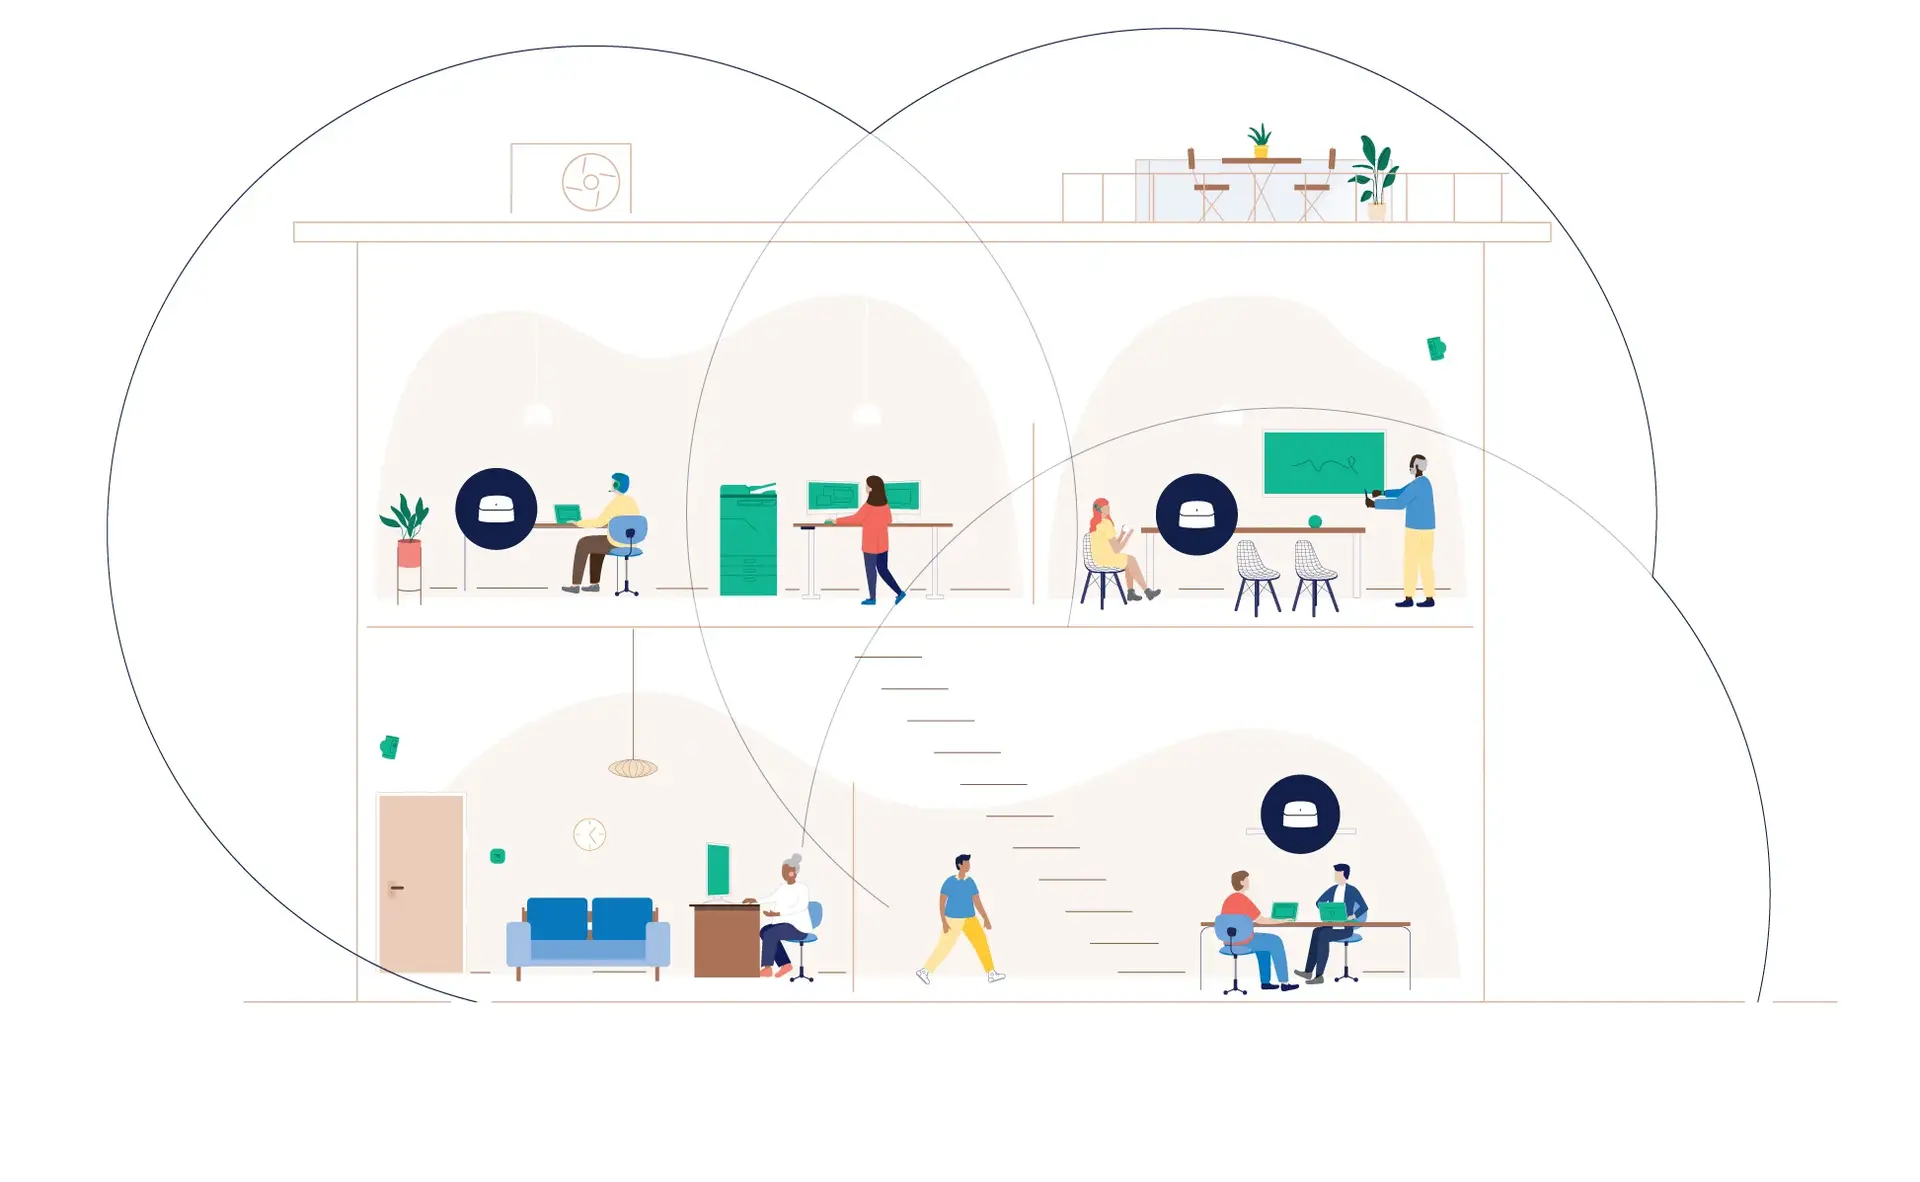
Place it centrally in your business for the best chance of strong WiFi performance.
Environment
Do not place the router in direct sunlight or hot areas - the safe operating temperature is between 0 and 40 degrees.
Do not allow the router to come in contact with any liquid or moisture.
Avoid placing the router in any wet or humid areas such as the kitchen, bathroom, or laundry.
Avoid placing your eero in front, on top, or under electronics/appliances, as metal objects can block WiFi signals.
When you have considered the above points, you can continue with setting up your eero.


